Thin Sliced Chicken Breast Recipes: 3 Easy Ways to Cook
“Fed up with preparing the same chicken dishes every evening? If you’re looking at those thinly sliced chicken breasts in your fridge and wondering how to make them shine, we’ve got you covered! Check out our collection of creative recipes for a fresh and flavorful twist. You’re not alone – many home cooks face the challenge of keeping chicken meals exciting and delicious.”
Get ready to embark on a flavorful journey as we explore these 3 Creative Techniques for Cooking Thin Sliced Chicken Breast Recipes with Ease. Whether you’re a busy parent, a health-conscious individual, or simply someone looking to spice up your meal routine, these techniques will cater to all your needs. So, let’s dive in and discover how you can turn that humble chicken breast into a mouthwatering masterpiece!
But what if we told you that your chicken dilemma is about to become a thing of the past? Imagine having a repertoire of three creative techniques that will revolutionize the way you cook thin-sliced chicken breast. From quick pan-searing to slow-cooking and even sous vide, these methods will save you time and elevate your culinary game to new heights.
Quick and Easy Pan-Searing Technique
Now that you’re ready to explore creative techniques for cooking thin-sliced chicken breast, let’s start with a classic method that’s both quick and easy: pan-searing. This technique is perfect for busy weeknights when you need a delicious meal on the table quickly.
Achieving the Perfect Golden Crust
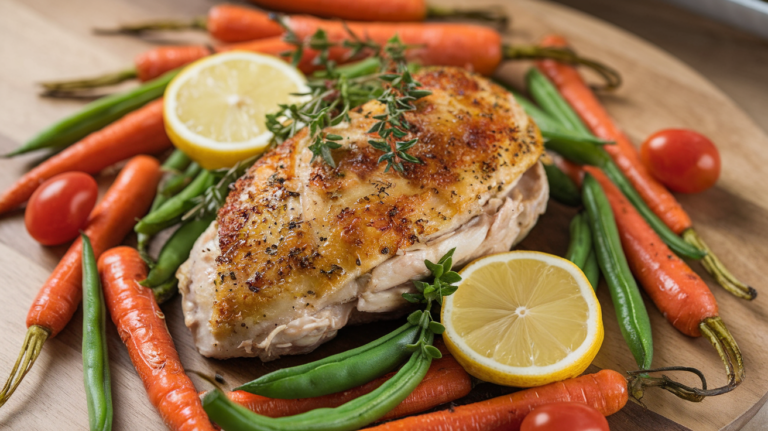
You might think that getting a beautiful golden crust on your thin sliced chicken breast is a challenge, but with the right approach, it’s easier than you think. Here’s how you can achieve that perfect search:
Pat the chicken dry
Before you start cooking, make sure to pat your thin sliced chicken breast dry with paper towels. This removes excess moisture, which is crucial for achieving a crispy exterior.
Use the right pan
A heavy-bottomed skillet, preferably cast iron or stainless steel, is ideal for pan-searing. These materials distribute heat evenly and retain it well, ensuring a consistent cooking temperature.
Preheat your pan
Preheat your skillet over medium-high heat before adding any oil. You’ll know it’s ready when a drop of water sizzles and evaporates immediately upon contact.
Add oil with a high smoke point
Once your pan is hot, add a small amount of oil with a high smoke point, such as avocado oil, grapeseed oil, or clarified butter. This will prevent the oil from burning and imparting an unpleasant flavor to your chicken.
Don’t overcrowd the pan
Cook your thin sliced chicken breast in batches if necessary. Overcrowding the pan will lower the temperature and cause the chicken to steam rather than sear.
Let it cook undisturbed
Resist the temptation to move the chicken around in the pan. Let it cook without disturbance for 2-3 minutes per side. This gives the chicken time to develop that coveted golden crust.
Use a meat thermometer
To ensure your chicken is cooked through without overcooking, use a meat thermometer. The internal temperature must hit 165°F (74°C) at the thickest section of the meat.
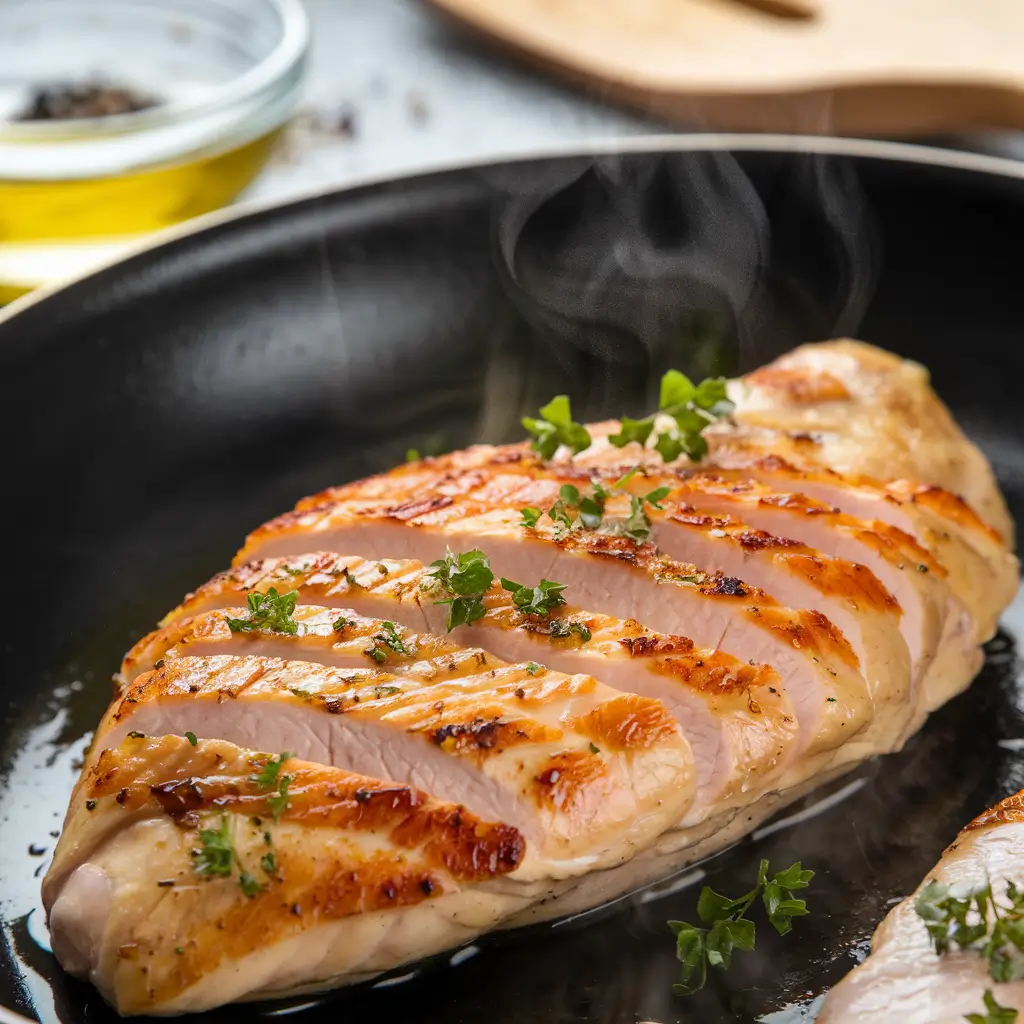
Following these steps, you’ll achieve a perfect golden crust on your thin sliced chicken breast every time. The contrast between the crispy exterior and the juicy interior will elevate your dish to restaurant-quality levels.
Seasoning Tips for Maximum Flavor
Seasoning is where you can really get creative with your thin sliced chicken breast. The right combination of herbs and spices can transform a simple piece of chicken into a mouthwatering masterpiece. Here are a few tips to enhance the flavor:
Season generously
Don’t be shy with your seasonings. Thin sliced chicken breast cooks quickly, so you want to ensure it’s well-seasoned before it hits the pan.
Use a dry rub
A dry rub can add depth and complexity to your chicken. Try mixing paprika, garlic powder, onion powder, dried thyme, salt, and black pepper for a versatile seasoning blend.
Experiment with herbs
Fresh herbs can add a bright, aromatic quality to your chicken. Consider using rosemary, thyme, sage, or tarragon. Chop them finely and mix with salt and pepper before applying to the chicken.
Try different flavor profiles
Don’t be afraid to explore various cuisines. Here are some ideas:
- Italian: Dried oregano, basil, garlic powder, and a pinch of red pepper flakes
- Mexican: Chili powder, cumin, oregano, and lime zest
- Asian: Five-spice powder, garlic, ginger, and a touch of brown sugar
- Mediterranean: Za’atar, sumac, and dried mint
Marinate for extra flavor
If you have time, marinating your thin sliced chicken breast can infuse it with even more flavor. A basic marinade made with olive oil, lemon juice, garlic, and herbs can make a significant difference in flavor.
Season both sides
Make sure to season both sides of your thin sliced chicken breast for even flavor distribution.
Add a finishing touch
After cooking, consider adding a squeeze of lemon juice, a sprinkle of fresh herbs, or a pat of compound butter for an extra burst of flavor.
Keep in mind that the secret to perfect seasoning is balance. You want to bring out the chicken’s natural flavor without overpowering it. Adjust the seasonings to match your personal preference.
Ideal Cooking Time for Juicy Results
One of the biggest challenges when cooking thin sliced chicken breast is avoiding overcooking. Due to its thinness, it can go from perfectly cooked to dry and tough in a matter of seconds. Here’s how you can ensure juicy results every time:
Timing is crucial
For a standard thin sliced chicken breast (about 1/4 inch thick), you’ll typically need to cook it for 2-3 minutes per side over medium-high heat.
Use visual cues
As the chicken cooks, you’ll notice the edges turning opaque. When this happens, it’s usually time to flip.
Check the internal temperature
Use a meat thermometer to ensure the internal temperature reaches 165°F (74°C), which is the USDA-recommended safe temperature for chicken.
Let it rest
After cooking, let your chicken rest for 3-5 minutes. This lets the juices redistribute within the meat, leading to a more succulent bite.
Consider the thickness
If your thin sliced chicken breast is thicker or thinner than 1/4 inch, adjust your cooking time accordingly. Here’s a quick guide: ThicknessCooking Time (per side)1/8 inch1-2 minutes1/4 inch2-3 minutes1/2 inch4-5 minutes
Watch for color changes
As the chicken cooks, it will change from pink to white. When it’s no longer pink in the center, it’s likely done.
Don’t rely solely on color
While color can be a good indicator, it’s not foolproof. Some chicken might still have a pinkish tinge even when fully cooked, which is why using a meat thermometer is so important.
Consider pounding the chicken
If your chicken breasts are uneven in thickness, consider pounding them to an even thickness before cooking. This ensures even cooking throughout.
Remember, practice makes perfect. As you become more familiar with pan-searing thin sliced chicken breast, you’ll develop an intuition for when it’s perfectly cooked.
To wrap up this section on pan-searing, it’s worth noting that this technique is not only quick and easy but also incredibly versatile. You can use your perfectly seared thin sliced chicken breast in a variety of dishes – from salads and sandwiches to pasta and rice bowls. The golden crust adds a delightful texture, while the juicy interior ensures a satisfying meal.
Now that you’ve mastered the art of pan-searing thin sliced chicken breast, you’re ready to explore other cooking methods. In the next section, we’ll dive into the flavorful world of grilling, where you’ll learn how to impart smoky flavors and achieve those coveted grill marks on your chicken. Whether you’re cooking indoors or out, these techniques will help you create delicious chicken dishes with ease.
Flavorful Grilling Technique
Now that we’ve explored the quick and easy pan-searing technique, let’s dive into a method that’s perfect for outdoor cooking enthusiasts: grilling thin sliced chicken breast. This technique not only imparts a delicious smoky flavor but also creates those coveted grill marks that make your dish look as good as it tastes.
Marinating secrets for tender chicken
The key to achieving flavorful and tender grilled thin sliced chicken breast lies in the marinade. A well-crafted marinade not only infuses your chicken with delicious flavors but also helps keep it moist during the grilling process. Here are some marinating secrets to elevate your thin sliced chicken breast:
- Acidic components: Include ingredients like lemon juice, vinegar, or yogurt in your marinade. These acidic elements help break down the muscle fibers, resulting in more tender meat.
- Oil base: Use olive oil or another healthy oil as the base of your marinade. This helps the flavors penetrate the meat and prevents it from sticking to the grill.
- Herbs and spices: Experiment with various combinations of fresh and dried herbs and spices. Some popular options include:
- Italian herbs (basil, oregano, thyme)
- Mediterranean spices (cumin, coriander, paprika)
- Asian-inspired flavors (ginger, garlic, soy sauce)
- Sweeteners: A touch of honey, maple syrup, or brown sugar can help balance the flavors and promote caramelization on the grill.
- Salt: Don’t forget to include salt in your marinade. It not only enhances flavor but also helps the chicken retain moisture during cooking.
Here’s a simple yet flavorful marinade recipe you can try:
| Ingredient | Amount |
|---|---|
| Olive oil | 1/4 cup |
| Lemon juice | 2 tablespoons |
| Garlic (minced) | 3 cloves |
| Dried oregano | 1 teaspoon |
| Dried thyme | 1 teaspoon |
| Honey | 1 tablespoon |
| Salt | 1 teaspoon |
| Black pepper | 1/2 teaspoon |
Mix all ingredients in a bowl or ziplock bag, add your thin sliced chicken breast, and marinate for at least 30 minutes, or up to 4 hours for more intense flavor.
Pro tip: Avoid marinating your thin sliced chicken breast for too long, especially if using acidic ingredients. The thin slices can become mushy if left in an acidic marinade for extended periods.
Proper grill temperature for thin slices
Getting the grill temperature right is crucial when cooking thin sliced chicken breast. Too high, and you’ll end up with charred exteriors and raw interiors. Too low, and you’ll have dry, overcooked chicken. Here’s how to achieve the perfect temperature:
- Preheat your grill: Start by preheating your grill to medium-high heat, around 375°F to 400°F (190°C to 204°C). This temperature range allows for quick cooking without burning the exterior.
- Create temperature zones: Set up your grill with two temperature zones:
- A direct heat zone for initial searing
- A zone for indirect heat to complete the cooking process
- Use a grill thermometer: If your grill doesn’t have a built-in thermometer, invest in a good quality grill thermometer to ensure accurate temperature readings.
- Allow for temperature fluctuations: Keep in mind that opening the grill lid will cause temperature drops. Minimize the number of times you open the lid to maintain a consistent cooking temperature.
- Adjust as needed: Be prepared to adjust the heat during cooking. If your chicken is browning too quickly, reduce the heat or move it to the cooler side of the grill.
Grilling time guide for thin sliced chicken breast:
| Thickness | Direct heat time (per side) | Indirect heat time |
|---|---|---|
| 1/4 inch | 1-2 minutes | 0-1 minutes |
| 1/2 inch | 2-3 minutes | 1-2 minutes |
| 3/4 inch | 3-4 minutes | 2-3 minutes |

Remember, these times are approximate and may vary depending on your specific grill and the exact thickness of your chicken slices. Always use a meat thermometer to ensure your chicken reaches an internal temperature of 165°F (74°C) for food safety.
Avoiding dryness with indirect heat
Grilling thin sliced chicken breast can be challenging as it dries out quickly. However, using indirect heat helps keep it moist and juicy. Here’s how to do it:
Start with direct heat: Sear your marinated chicken over direct heat for 1-2 minutes per side to create grill marks and lock in juices.
Move to indirect heat: After searing, transfer the chicken to the cooler side of the grill, away from direct flames.
Close the lid: Close the grill lid to trap heat, allowing the chicken to cook evenly without direct exposure to flames.
Use a two-zone grilling method: If your grill has multiple burners, turn off one side and leave the other on. After searing, move the chicken to the side with the burner off.
Monitor internal temperature: Check the chicken’s internal temperature with a meat thermometer. Remove it at 160°F (71°C), as it will continue to cook after removal.
Let it rest: Allow the chicken to rest for 3-5 minutes after grilling. This allows the juices to redistribute, making the chicken more tender.
Baste during cooking: For extra moisture and flavor, baste with marinade or olive oil while cooking over indirect heat, but avoid cross-contamination with raw chicken juices.
Use a grill pan or foil packet: For thinner slices or delicate marinades, a grill pan or foil packet will help retain juices while delivering that smoky grilled flavor.
By following these steps, you’ll achieve perfectly cooked, juicy thin sliced chicken breast every time!
Pro tip: When grilling large batches, work in smaller batches to avoid overcrowding and ensure even cooking.
Oven-Baked Herb-Crusted Chicken
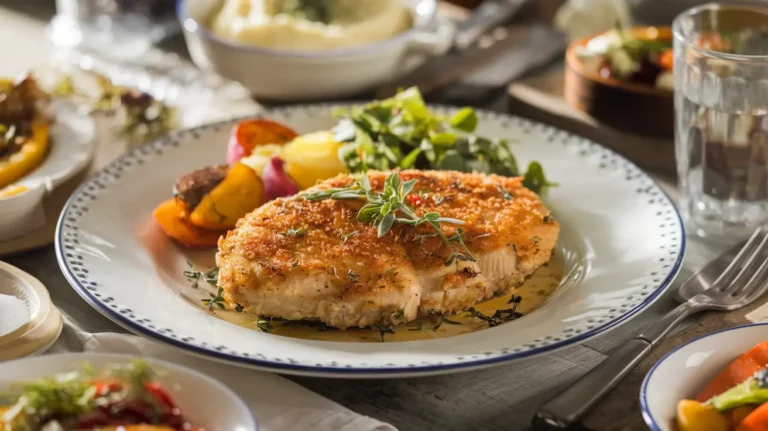
Now that you’ve explored quick pan-searing and flavorful grilling methods, let’s dive into a delicious oven-baked technique that will elevate your thin sliced chicken breast to new heights. Oven-baked herb-crusted chicken is a versatile and flavorful option that’s perfect for both weeknight dinners and special occasions. This method ensures a crispy exterior while keeping the chicken moist and tender on the inside.
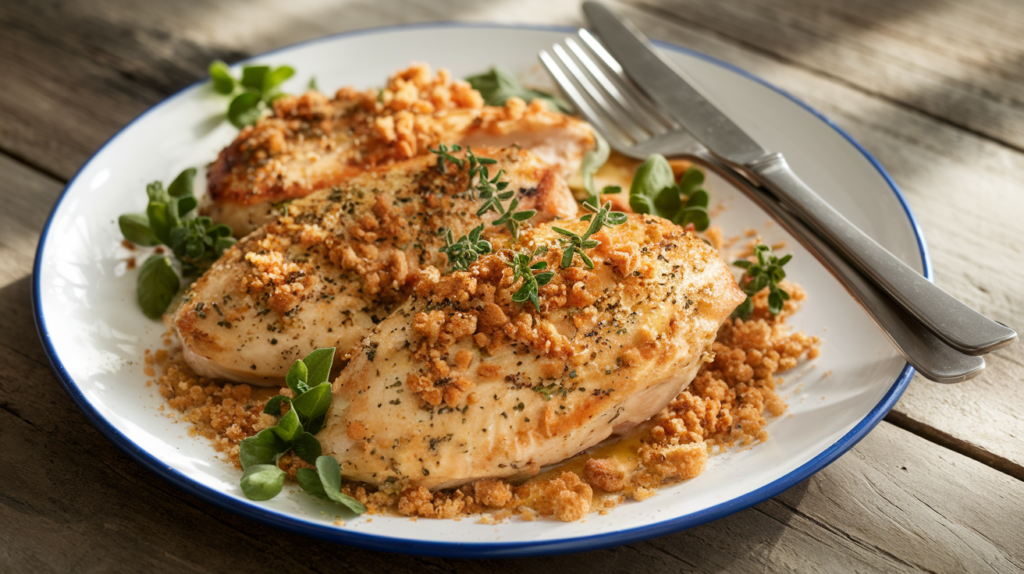
Creating a Crispy Herb Coating
Achieving the perfect herb-crusted chicken requires the right combination of herbs and coating techniques. Here’s how to create a mouthwatering, crispy crust:
Choose Your Herbs
Select fresh and dried herbs that complement each other. Popular choices include:
- Rosemary
- Thyme
- Oregano
- Basil
- Parsley
- Sage
Mix and match these herbs for a unique flavor blend. Fresh herbs bring a vibrant flavor, while dried herbs offer concentrated taste.
Prepare the Herb Mixture
In a small bowl, combine your herbs with these ingredients for a delicious coating:
- 1/4 cup fresh herbs (or 2 tablespoons dried)
- 1/2 cup breadcrumbs (panko for extra crunch)
- 1/4 cup grated Parmesan
- 1 teaspoon garlic powder
- 1 teaspoon onion powder
- 1/2 teaspoon salt
- 1/4 teaspoon black pepper
- Zest of one lemon (optional, for a burst of citrus flavor)
Mix everything well to ensure an even distribution of flavors.
Prepare the Chicken
Pat the thinly sliced chicken breasts dry with paper towels to help the coating adhere better and achieve a crispier texture.
Create an Adhesive Layer
You’ll need an adhesive to help the coating stick. You have two options:
- Egg Wash: Beat 1-2 eggs in a shallow dish for a golden, crispy crust.
- Mustard Coating: Spread a thin layer of Dijon mustard on each breast for a tangy flavor and better herb adherence.
Coat the Chicken
Dip each chicken breast into your chosen adhesive (egg wash or mustard), then press it into the herb mixture, coating both sides evenly. For an extra crispy crust, repeat this process for a double coat.
Let It Rest
Place the coated chicken breasts on a wire rack and refrigerate for 15-30 minutes. This resting period helps the coating set and adhere better during cooking.
Now you’re ready to cook your herb-crusted chicken for a delicious, flavorful meal!
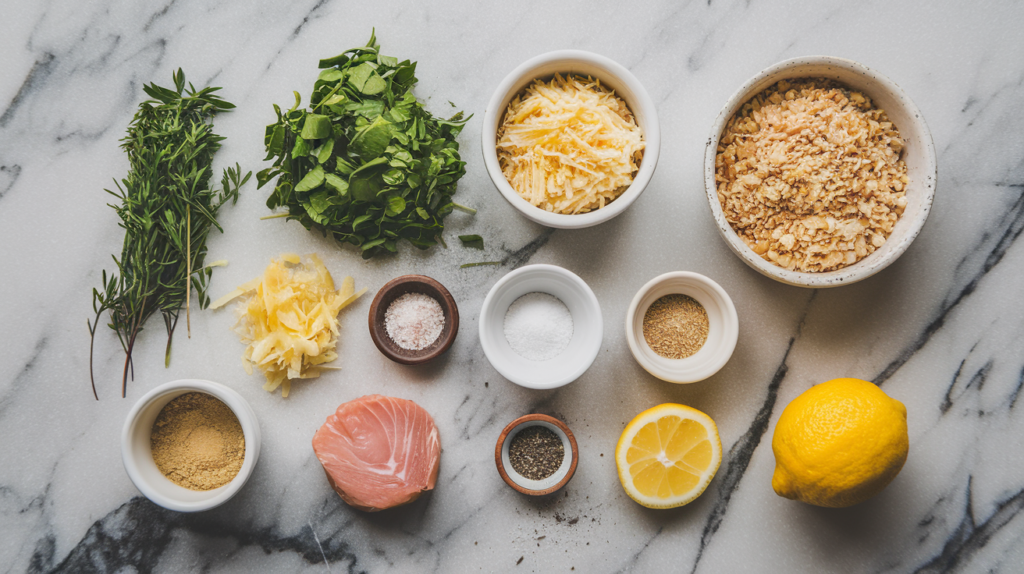
By following these steps, you’ll create a flavorful and crispy herb coating that will transform your thin sliced chicken breasts into a gourmet dish.
Optimal Oven Temperature and Timing
Achieving perfectly cooked herb-crusted chicken requires the right oven temperature and cooking time. Here’s how to ensure your thin sliced chicken breasts come out juicy on the inside and crispy on the outside:
- Preheat the Oven: Set your oven to 425°F (218°C). This high temperature is crucial for creating a crispy exterior without overcooking the thin chicken breasts.
- Prepare the Baking Sheet: Line a baking sheet with parchment paper or aluminum foil for easier cleanup. Set a wire rack on the baking sheet to allow for even cooking. This setup allows hot air to circulate around the chicken, promoting even cooking and a crispy crust on all sides.
- Arrange the Chicken: Place your herb-crusted chicken breasts on the wire rack, ensuring they’re not touching each other. This setup ensures adequate air circulation, promoting even cooking throughout the dish.
- Cooking Time: Bake the thin sliced chicken breasts for approximately 15-20 minutes. However, the exact cooking time may vary depending on the thickness of your chicken and the accuracy of your oven. Here’s a general guide: Chicken ThicknessApproximate Cooking Time1/4 inch15-18 minutes1/2 inch18-22 minutes3/4 inch22-25 minutes
- Check for Doneness: To ensure your chicken is fully cooked, use a meat thermometer to check the internal temperature. The chicken is safe to eat when it reaches 165°F (74°C) at the thickest part.
- Resting Time: Once the chicken reaches the correct internal temperature, remove it from the oven and let it rest for 5 minutes. This resting period helps redistribute the juices within the meat, resulting in a moist and flavorful outcome.
- Optional Broiling: If you want an extra crispy crust, you can broil the chicken for 1-2 minutes at the end of the cooking time. Monitor it closely to avoid burning.
Tips for Perfect Oven-Baked Herb-Crusted Chicken:
- If your chicken breasts are unevenly thick, consider pounding them to an even thickness before coating. This ensures uniform cooking.
- For added moisture, you can brush the chicken with a little olive oil or melted butter before applying the herb coating.
- If you notice the crust browning too quickly during cooking, you can loosely cover the chicken with aluminum foil to prevent burning.
- Try mixing various herbs to discover your preferred flavor combination.
Remember, thin sliced chicken breasts cook quickly, so it’s essential to monitor them closely to avoid overcooking. With practice, you’ll perfect the timing for your specific oven and preferred level of doneness.
Pairing with Complementary Side Dishes
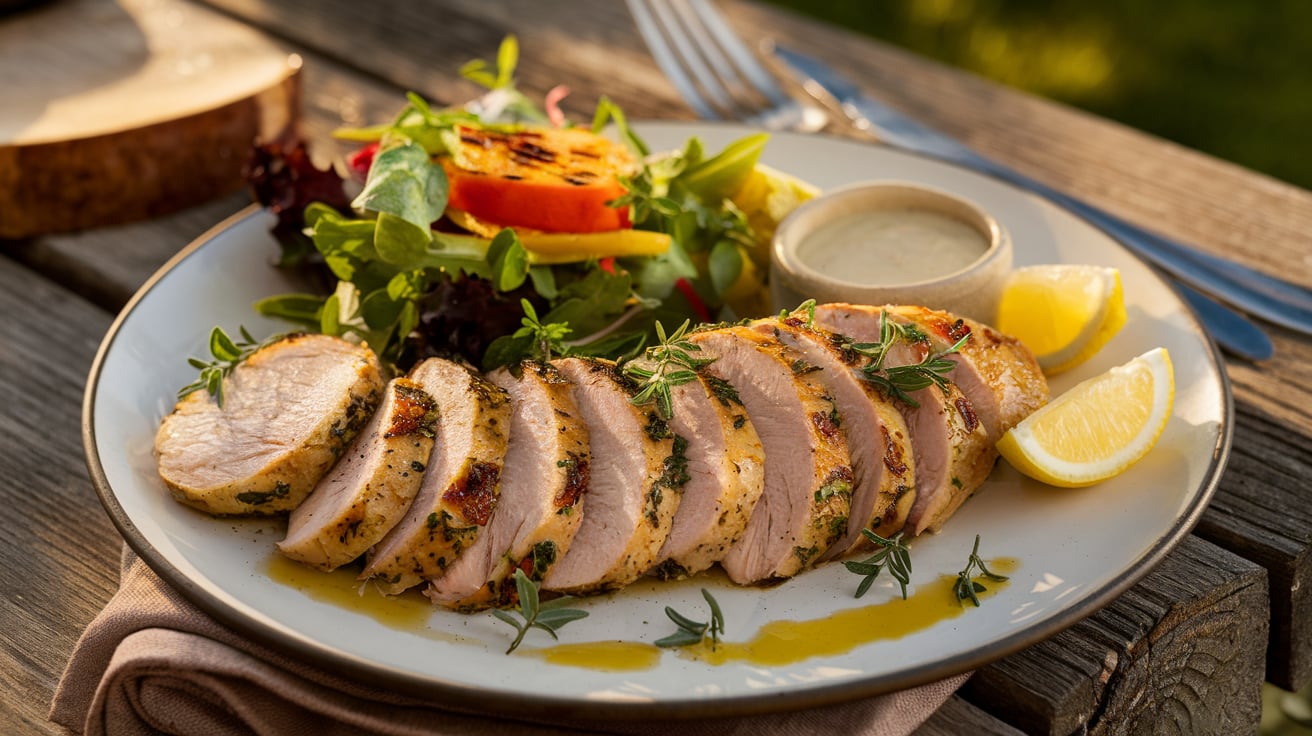
Oven-baked herb-crusted chicken is a versatile main dish that pairs wonderfully with various side dishes. To create a well-balanced meal, choose sides that enhance the flavor of the herbs and complement the crispy chicken. Here are some great pairing ideas:
Roasted Vegetables: Roasting vegetables alongside your chicken adds both convenience and flavor. Try these options:
- Asparagus
- Brussels sprouts
- Carrots
- Bell peppers
- Zucchini
- Cherry tomatoes
Toss the vegetables with olive oil, salt, and pepper, and roast them on a separate baking sheet during the last 15-20 minutes of the chicken’s cooking time.
Fresh Salads: A crisp, refreshing salad is the perfect contrast to warm, crispy chicken. Consider these varieties:
- Mixed greens with light vinaigrette
- Greek salad with feta and olives
- Caprese salad with mozzarella and basil
- Arugula with shaved Parmesan and lemon dressing
Grain-Based Sides: Add texture and substance with wholesome grains:
- Quinoa pilaf with herbs and lemon
- Wild rice blend with cranberries and pecans
- Couscous with roasted vegetables and feta
- Farro salad with cherry tomatoes and cucumber
Starchy Sides: For a heartier meal, pair your chicken with starchy sides like:
- Garlic mashed potatoes
- Roasted sweet potato wedges
- Crispy polenta cakes
- Parmesan risotto
Pasta Dishes: Light pasta dishes complement the herb-crusted chicken perfectly:
- Lemon garlic spaghetti
- Pesto pasta salad
- Orzo with roasted vegetables
- Angel hair pasta with olive oil and herbs
Sauces and Dips: Enhance your chicken with these flavorful sauces:
- Tzatziki sauce
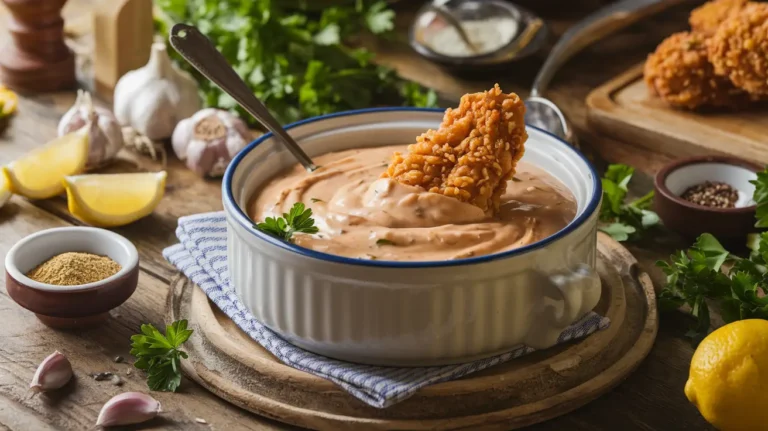
- Lemon-herb aioli
- Roasted red pepper hummus
- Basil pesto
Sample Menu
| Course | Dish |
|---|---|
| Main | Oven-Baked Herb-Crusted Chicken |
| Vegetable Side | Roasted Asparagus with Lemon and Parmesan |
| Grain Side | Quinoa Pilaf with Herbs and Toasted Pine Nuts |
| Salad | Mixed Greens with Balsamic Vinaigrette |
| Sauce | Lemon-Herb Aioli |
Tips for Perfect Pairings
- Balance flavors: Pair bold herb crusts with lighter, fresher sides for a well-rounded meal.
- Vary textures: Combine crispy, creamy, and crunchy elements for an exciting mouthfeel.
- Consider seasonality: Use fresh, seasonal produce for the most flavorful dishes.
- Mind the cooking times: Choose sides that either cook quickly or can be prepared while the chicken is in the oven.
The versatility of oven-baked herb-crusted chicken allows for endless side dish combinations, ensuring you can cater to your personal tastes and dietary needs. Whether it’s a weeknight dinner or a special occasion, this dish can be transformed into a gourmet experience with the right sides.
Now that you’ve mastered oven-baked herb-crusted chicken, why not explore stir-frying? Next, we’ll dive into quick and flavorful stir-fry techniques, perfect for busy weeknights!
Related Recipes
- Quick Chicken Stir Fry with Cabbage: for a quick chicken recipe using thin slices.
- Bone-In Chicken Breast: 3 Quick and Tasty Cooking Ideas: for complementary cooking techniques.
FAQs
How do you keep sliced chicken breast moist?
Marinate it before cooking to lock in flavor and moisture.
Prevent overcooking by using a meat thermometer to check for doneness.
Use cooking methods like pan-searing, baking with a sauce, or air frying, which preserve moisture.
Let the chicken rest for a few minutes after cooking to retain juices.
Can I bake thin sliced chicken breast in the oven?
Can thin sliced chicken breast be cooked in an air fryer?
Is thin sliced chicken breast healthy?
How long should chicken breast bake?
Are thin sliced chicken breasts the same as chicken cutlets?
We’d love to hear from you! – Your email address will remain private. Mandatory fields are indicated as required.



One Comment